
Photos for OS X is great for pictures and videos on the Mac, but how does it work with multiple Macs?
I’ve had a multi-Mac household pretty much since college, rocking a laptop and desktop in addition to miscellaneous iOS devices throughout the years. Dropbox and iCloud sync made most of the pains of using several Macs disappear, but iPhoto was always a problem. My laptop is tiny! My iPhoto library, not so much.
Thankfully, Photos for OS X — paired with iCloud Photo Library’s Optimize Storage feature — makes working with and syncing multiple Macs a breeze. Here’s how you can do it.
How to use Photos for OS X and iCloud Photo Library with multiple Macs
Here’s a quick, simple breakdown on setting up your Macs to support Photos and iCloud Photo Library.
I recommend starting with your biggest iPhoto library; it’ll usually be on your desktop Mac. When you open Photos for the first time, your library should import automatically; if it prompts you to create a new library, your Photos library may be stored in another location on your Mac, and you may need to manually open it.
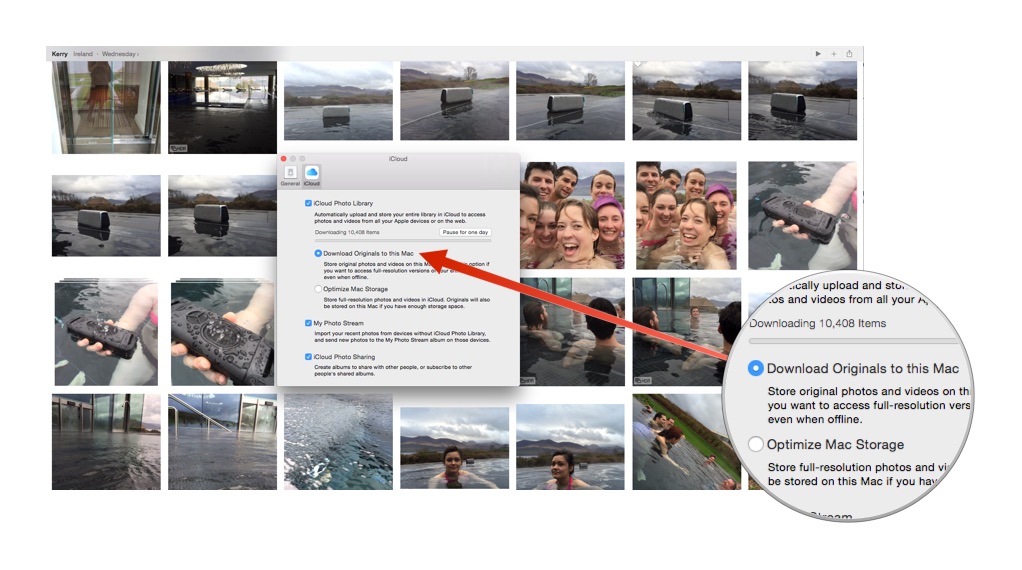
Once you’ve imported your biggest library on your Mac, make sure iCloud Photo Library is turned on and syncing by going to Photos > Preferences > iCloud and checking the iCloud Photo Library checkbox. I highly recommend choosing the Download Originals to this Mac option if your primary computer has the space, so that you have one master copy of your images stored locally, rather than relying on everything in the cloud. (See Rene’s How to back up your iCloud Photo Library article for more information.)
Now, open your other Mac, and launch Photos. If you have an iPhoto library on that secondary Mac, follow the same steps as above — import your library, then turn on iCloud Photo Library. If you have duplicates of the same photo on each computer, iCloud should automatically resolve those conflicts when it syncs, providing you with just one version of your photos when the sync process finishes.
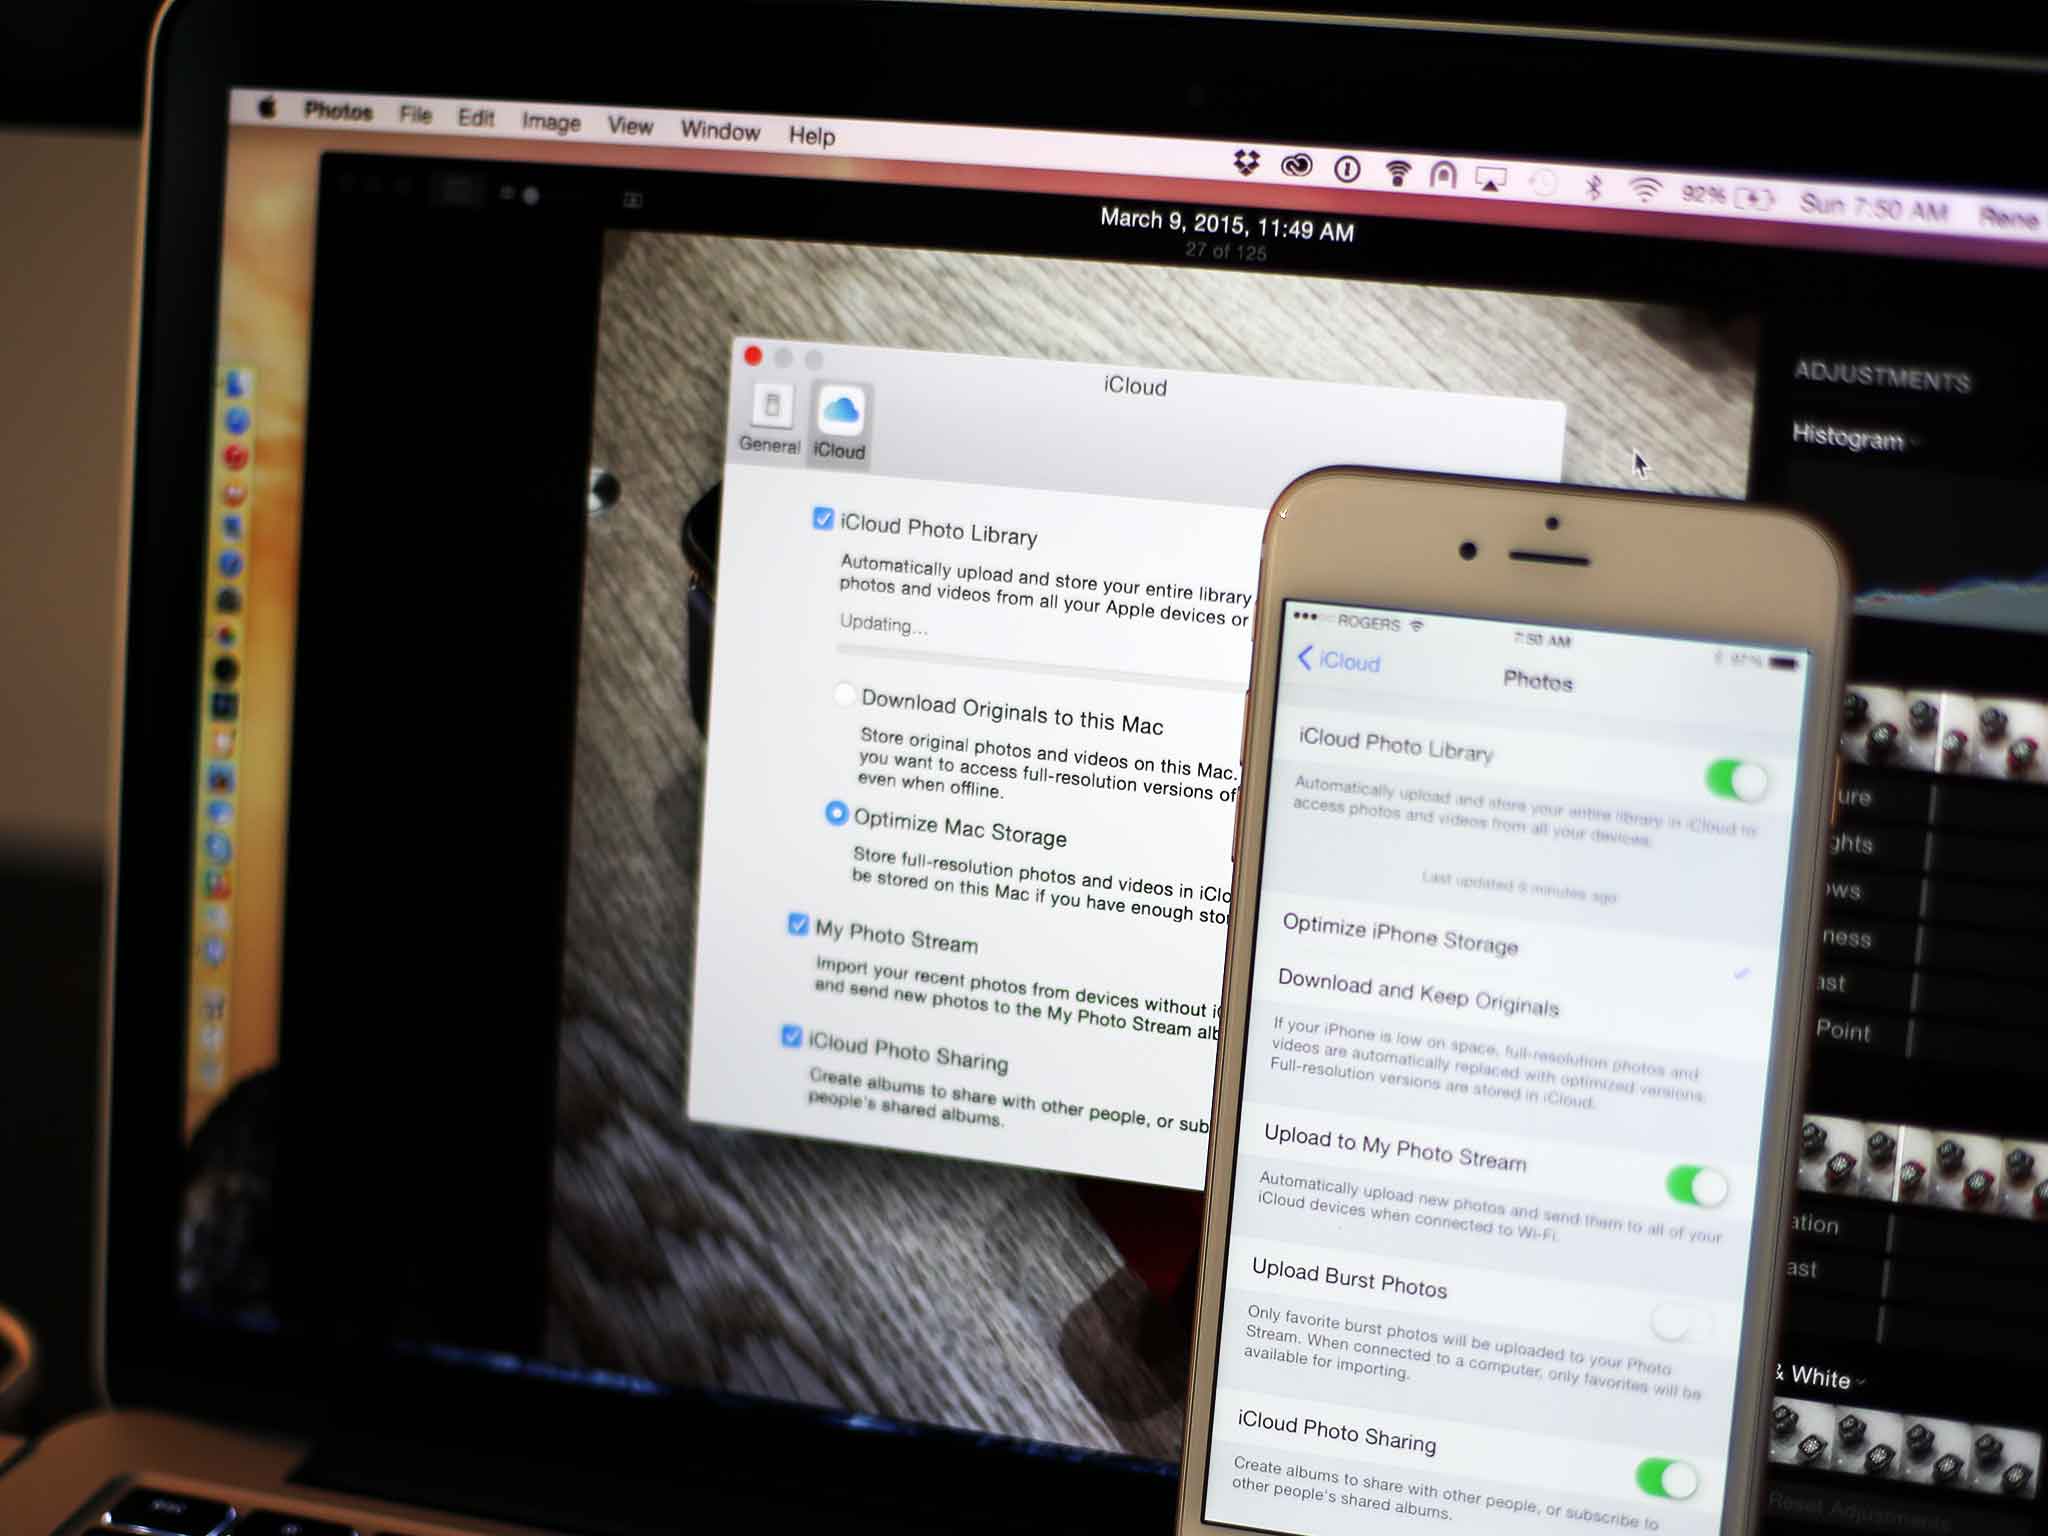
If you don’t have an iPhoto library on your secondary Mac, create a new library in Photos and turn on iCloud Photo Library. If you want to save storage space on this secondary Mac, make sure Optimize Mac Storage is selected: This will save a certain percentage of images and video locally to your device, while providing thumbnails of all the others for you to download at your leisure.
After you’ve set up all your Macs with Photos for OS X and the sync process has finished, you’re now good to go. From here on out, any time you add photos, they’ll sync to every computer you’ve set up with Photos for OS X.
What syncs, what doesn’t sync
Photos for OS X syncs a lot more than just your original photos and videos. According to a support document on Apple.com, here’s what else you should expect to see sync:
- All folders and albums (Mac and iOS)
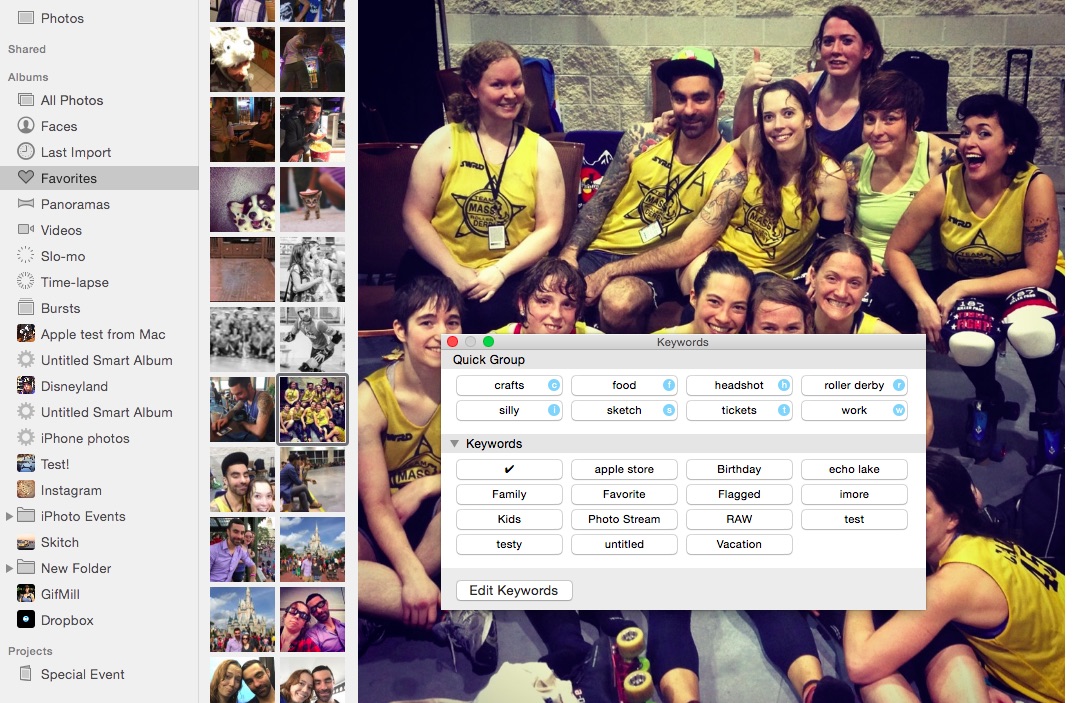
- Smart Albums (Mac only)
- Keywords (Mac only)
- Searchable keywords based on Faces tiles (Mac only)
- Key photo selections (Mac only)
There are a few things iCloud Photo Library won’t sync, however. Here’s Apple’s list:
- Books, cards, calendars, and slideshows
- Keyword shortcuts
- Unused keywords
- Last imported album on the Mac in question
- Your Faces smart album and any tagging you’ve done
For those not using iCloud Photo Library
If you’ve chosen not to enable iCloud Photo Library, Apple still offers you free syncing of your last 1000 photos via My Photo Stream, which doesn’t count toward your iCloud disk space. This will sync and download images you’ve imported or taken on other devices, but you won’t have the option to optimize your storage or sync your albums.
Photos for OS X
- Photos for OS X review
- Photos for OS X guide
- Photos for OS X FAQ
- Photos for OS X news hub
- Photos for OS X discussion
- iCloud Photo Library
- Photos for iOS
*/
/*–>*/
/*–>*/